A Complete Guide to Installing Coilovers on Your Car
A Complete Guide to Installing Coilovers on Your Car
Blog Article
Adding Coilovers on your car or truck can substantially improve the ride quality, managing, and overall performance of your vehicle. If you are seeking to improve your operating knowledge, this manual will go you through the measures to put in coilovers effectively while ensuring protection and functionality.
What Are Coilovers?
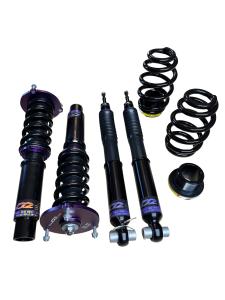
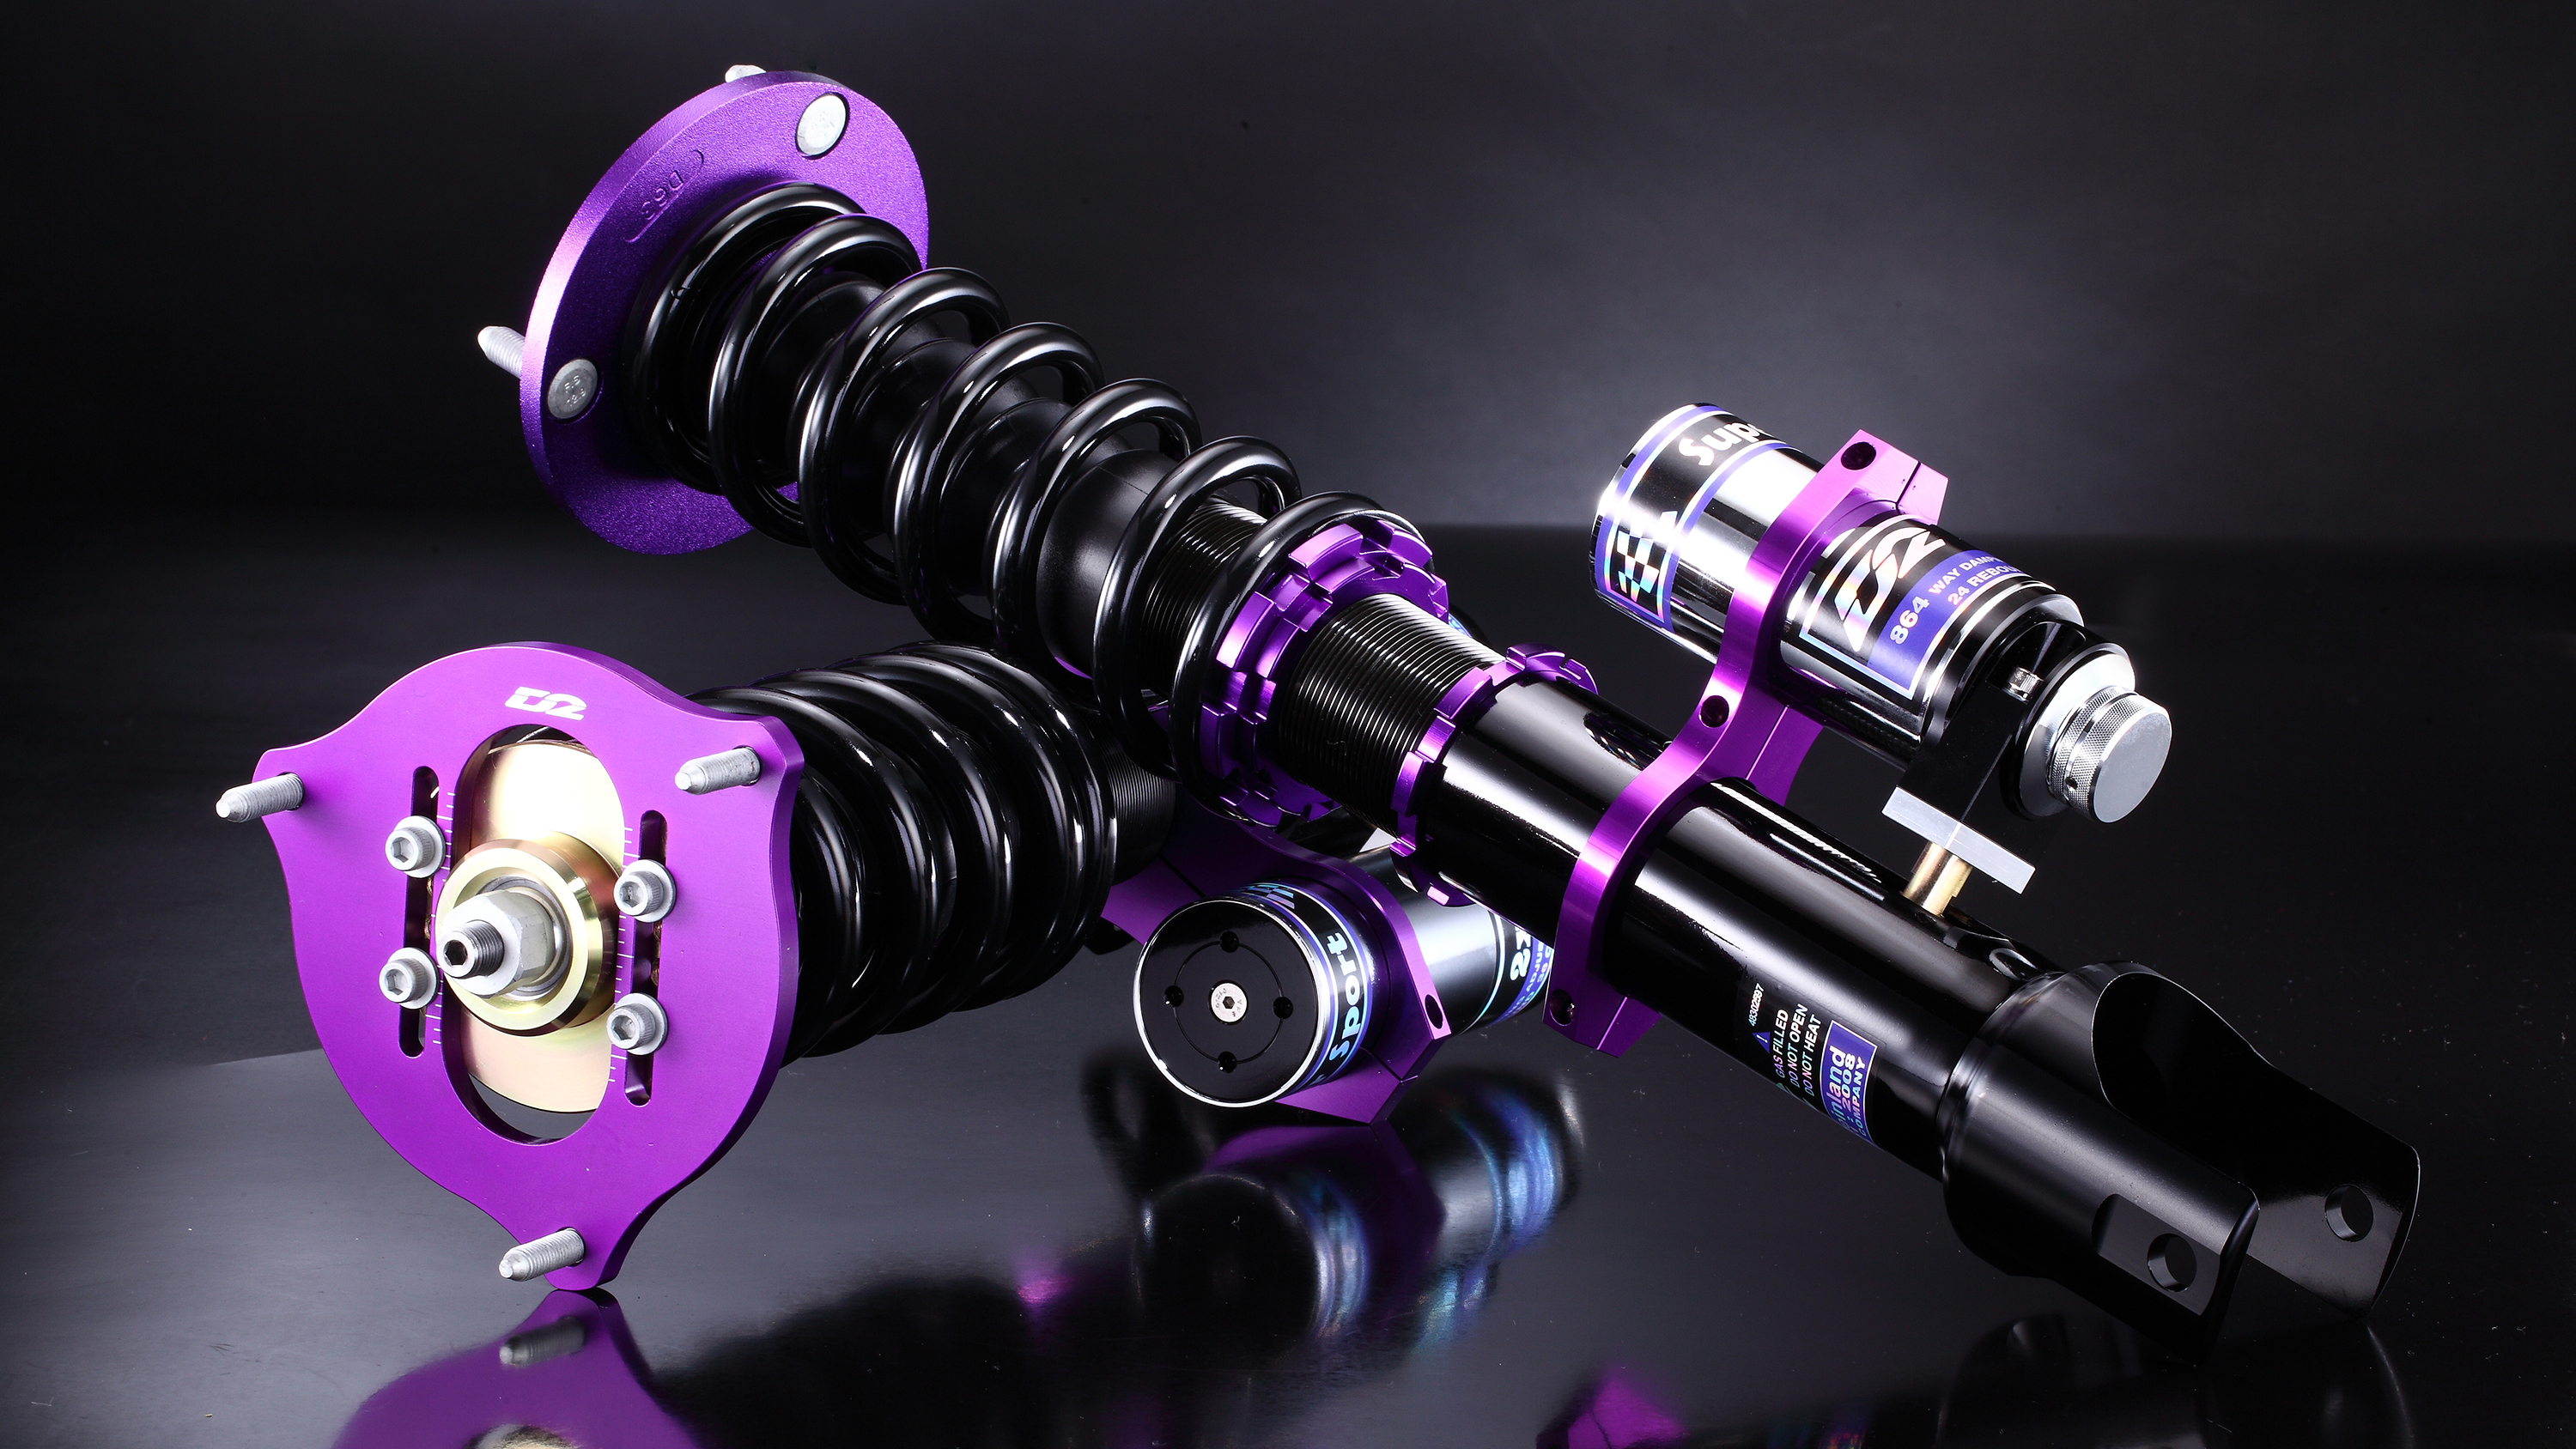
Coilovers are a variety of a coil spring and distress absorber, housed together as one component. They allow vehicle lovers to modify the drive level, stiffness, and damping of these vehicle, making them a popular change for both road and monitor use. Before starting the installment, assure you've picked the correct coilovers tailored to your car make and model.
Tools You'll Need
Before beginning, get the mandatory resources to really make the method successful and safe:
Jack and port stands
Torque wrench
Socket set
Spring compressors (if needed)
WD-40 or even a rust penetrant
Plastic mallets and tools
Double-check your vehicle's requirements and concur that you've everything expected to accomplish the job.
Step-by-Step Manual to Adding Coilovers
1. Make Your Car
Start with parking your car or truck on an appartment, secure surface. Interact the parking brake and assure the port stands are securely set up to avoid accidents all through installation. Raise the vehicle employing a hydraulic port and take away the wheels at all four corners.
2. Remove the Old Suspension
Making use of your plug collection, find the products holding your present bumps, struts, and rises in place. Use decay penetrant if products seem difficult to loosen. When the screws are eliminated, you need to be able to extract the suspension parts carefully. Hold areas structured just in case you require to appear straight back for reference.
3. Install the Coilovers
Align the rising factors of the coilovers with the brackets on your own car. Secure them set up utilising the products supplied by the manufacturer. Make sure to follow the torque specifications that include the instructions; over-tightening or leaving screws free could compromise safety.
4. Alter Level and Preload
Most coilovers present adjustment bands to set trip level and preload. Utilizing the offered tools, manage the controls to your preferred rating, ensuring enough clearance for driveability without sacrificing performance.
5. Check always All Screws and Contacts
Before finishing up, go over every secure and connection to make certain they're secure. A free bolt during function can result in substantial problems on the road.
6. Reinstall Wheels and Test Get
After the coilovers are fitted, position the wheels right back on and lower the car. Get the automobile for a quick test push to familiarize yourself with the new setup. Listen for almost any uncommon sounds and recheck bolts following the drive.
Fine-Tuning for Optimum Performance
The sweetness of coilovers is their adjustability. After installation, spend time fine-tuning the stiffness, damping, and drive level to suit your preferences, whether you prioritize track-level efficiency or even a relaxed day-to-day drive.
Installing coilovers on your car is really a gratifying project that raises both look and performance. With this guide, you are able to confidently tackle the method and appreciate superior handling on every drive. Remember, safety always comes first, so spend some time, double-check every stage, and don't wait to consult an expert if needed. Pleased driving!
Report this page